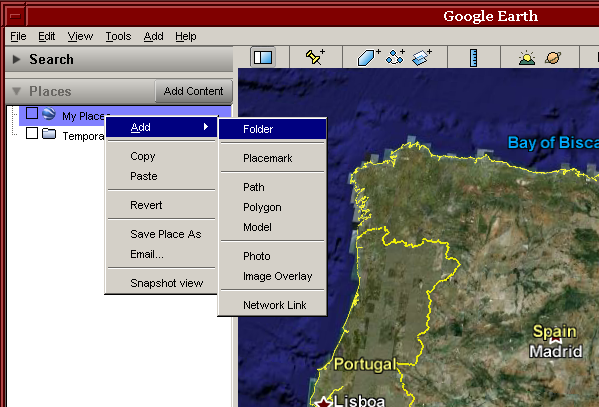
Give the folder a name, and click OK.
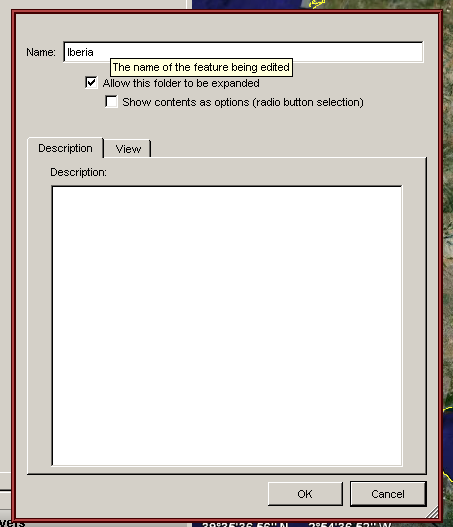
Now you have a new active folder within the My Places folder.

Give the folder a name, and click OK.
Now you have a new active folder within the My Places folder.
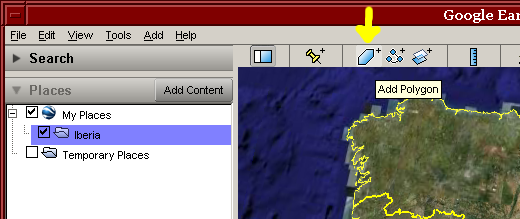
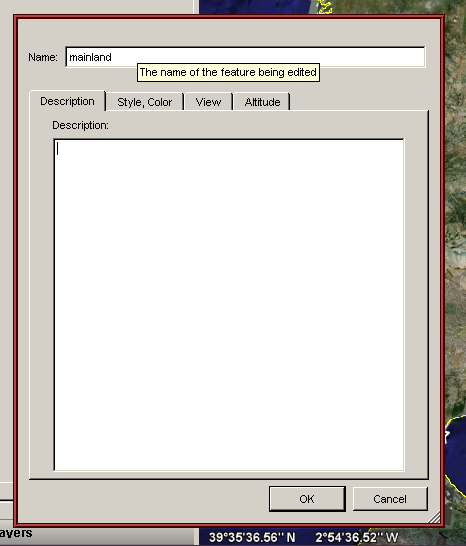
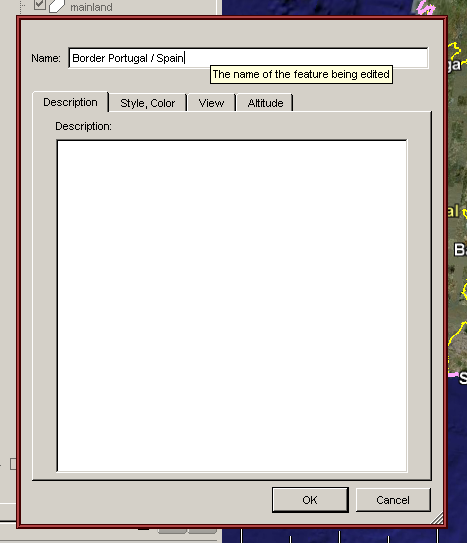
Give the polygon a name, but don't click OK yet. Move the window out of the way, and draw your polygon. See the manual in Google Earth for details on how to use the mouse for drawing. When you are done, then click OK.
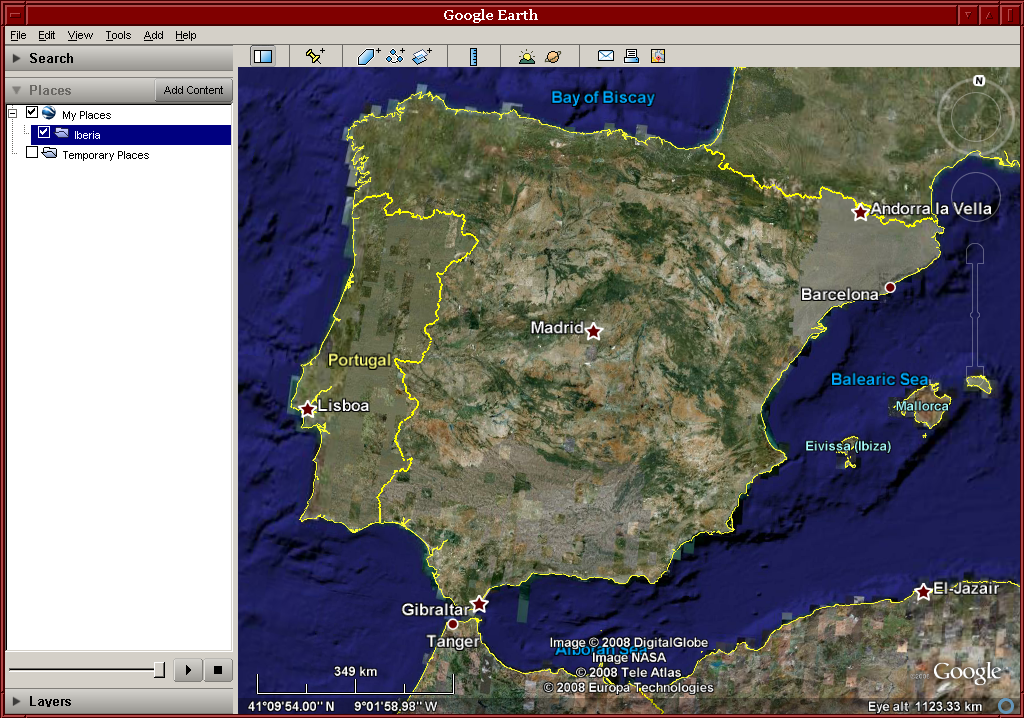
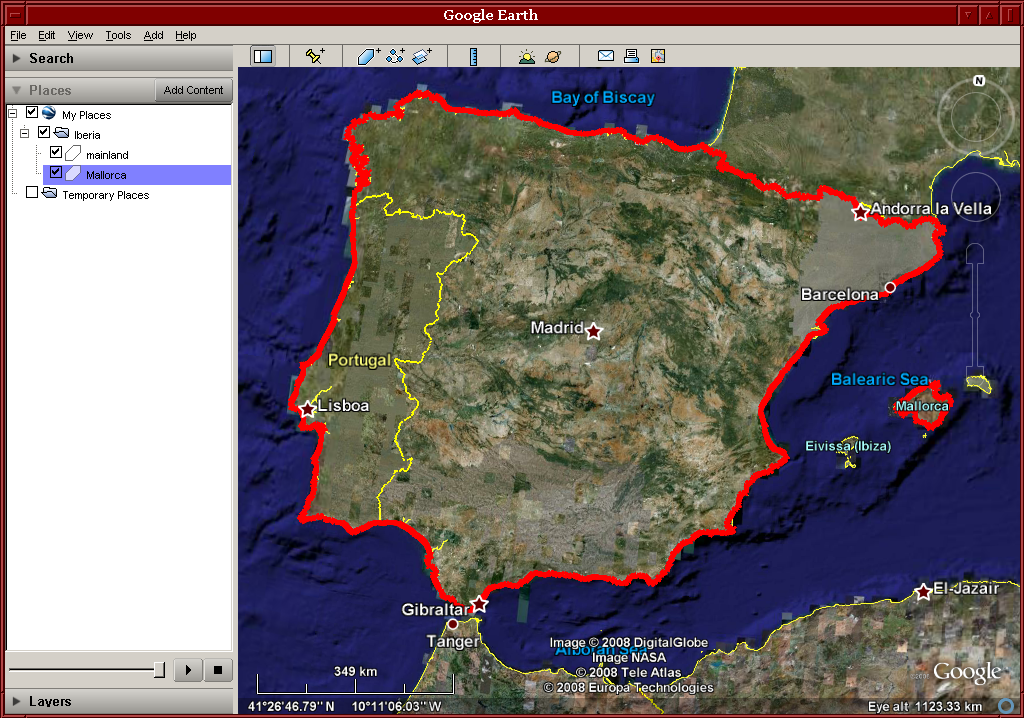
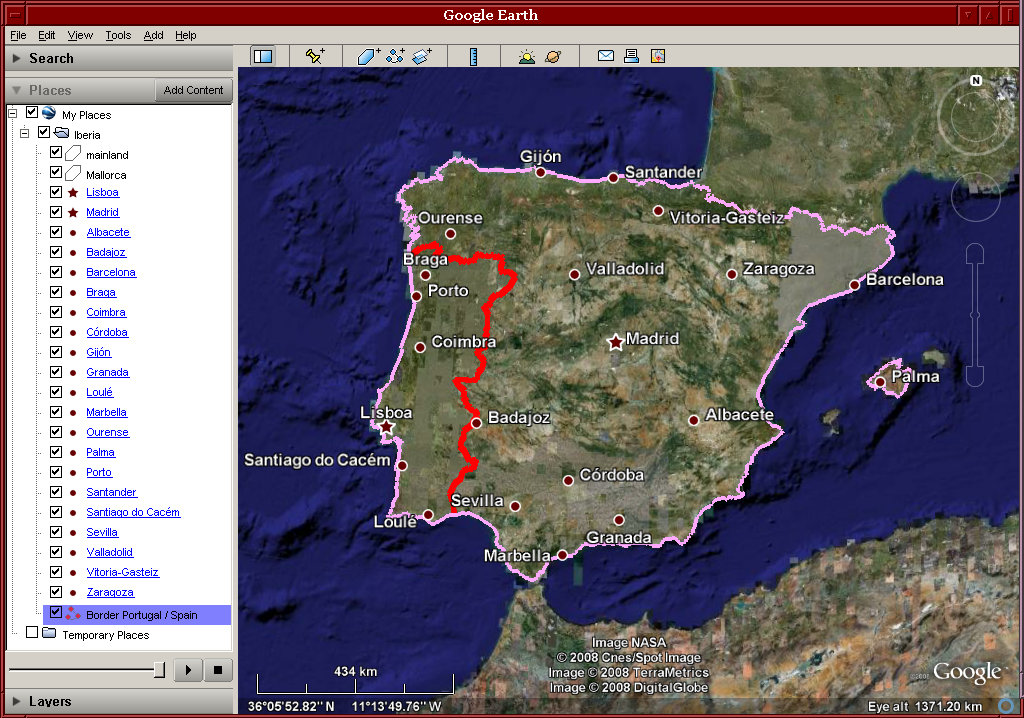
The map below has two polygons added, marked in red. They indicate the outer border of the area we are interested in. In the window on the left, you can see the two polygons inserted into the tree of the new map.
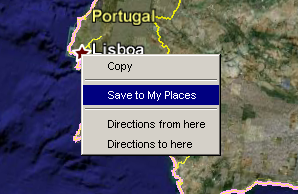
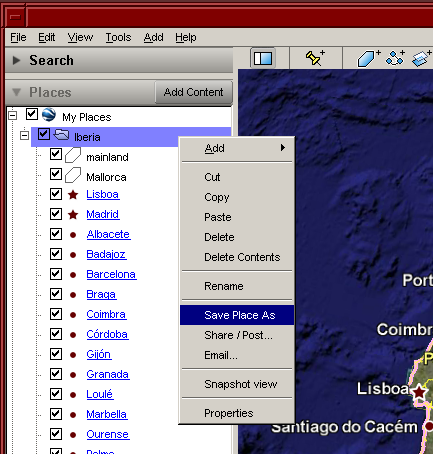
You can copy an existing placemark. Right-click on a placemark to open a menu, then click Save to My Places.
The copied placemark gets listed under Temporary Places.
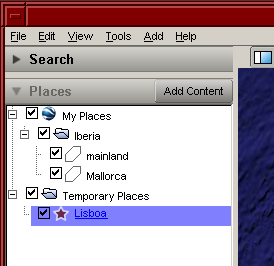
Use your mouse to click-and-drag the placemark into your folder with the rest of your new map.

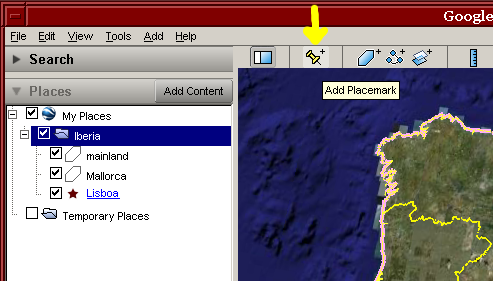
You can also add a completely new placemark. Click the Add Placemark tool (yellow arrow).
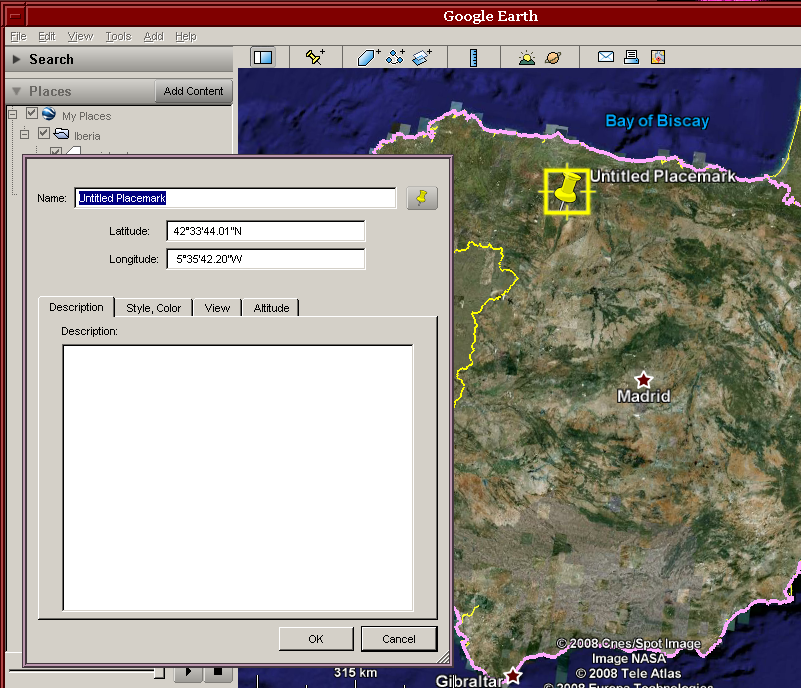
Give the placemark a name. Drag the placemark to the correct location on the map, or fill out the coordinates in the pop-up window. Then, click OK
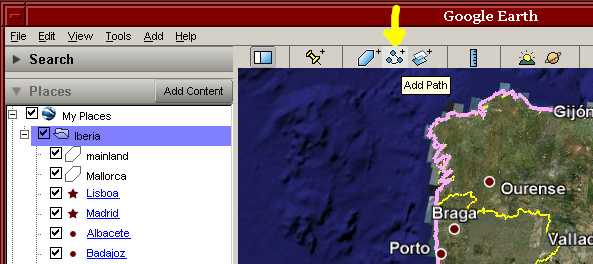
Click the Add Path tool (yellow arrow).
Create your path in the same manner as you create a polygon.
The map below has one path added, marked in red.
In some cases, you may want to fine-tune the map, change the placement of labels, change font size, etc. Placements of labels are set in the file with the .coo extension. Other options are set in the file with the .cfg extension. See Map configuration file for an overview of all settings.